...
Create bootable USB drive of TreNAS.iso using rufus tool
1. Install Process
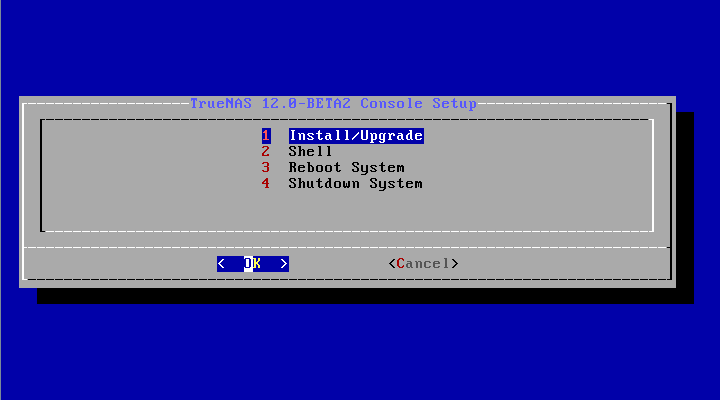
- Boot the pendrive
Select Install/Upgrade.
- Select the desired install drive.
- Next, set a password for the TrueNAS administrative account
- After following the steps to install, reboot the system and remove the install media.
- After booting up find the web interface IP address
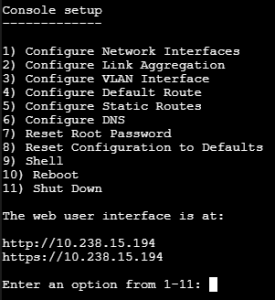
Ex: use http://10.238.15.194 in same network computer web browser
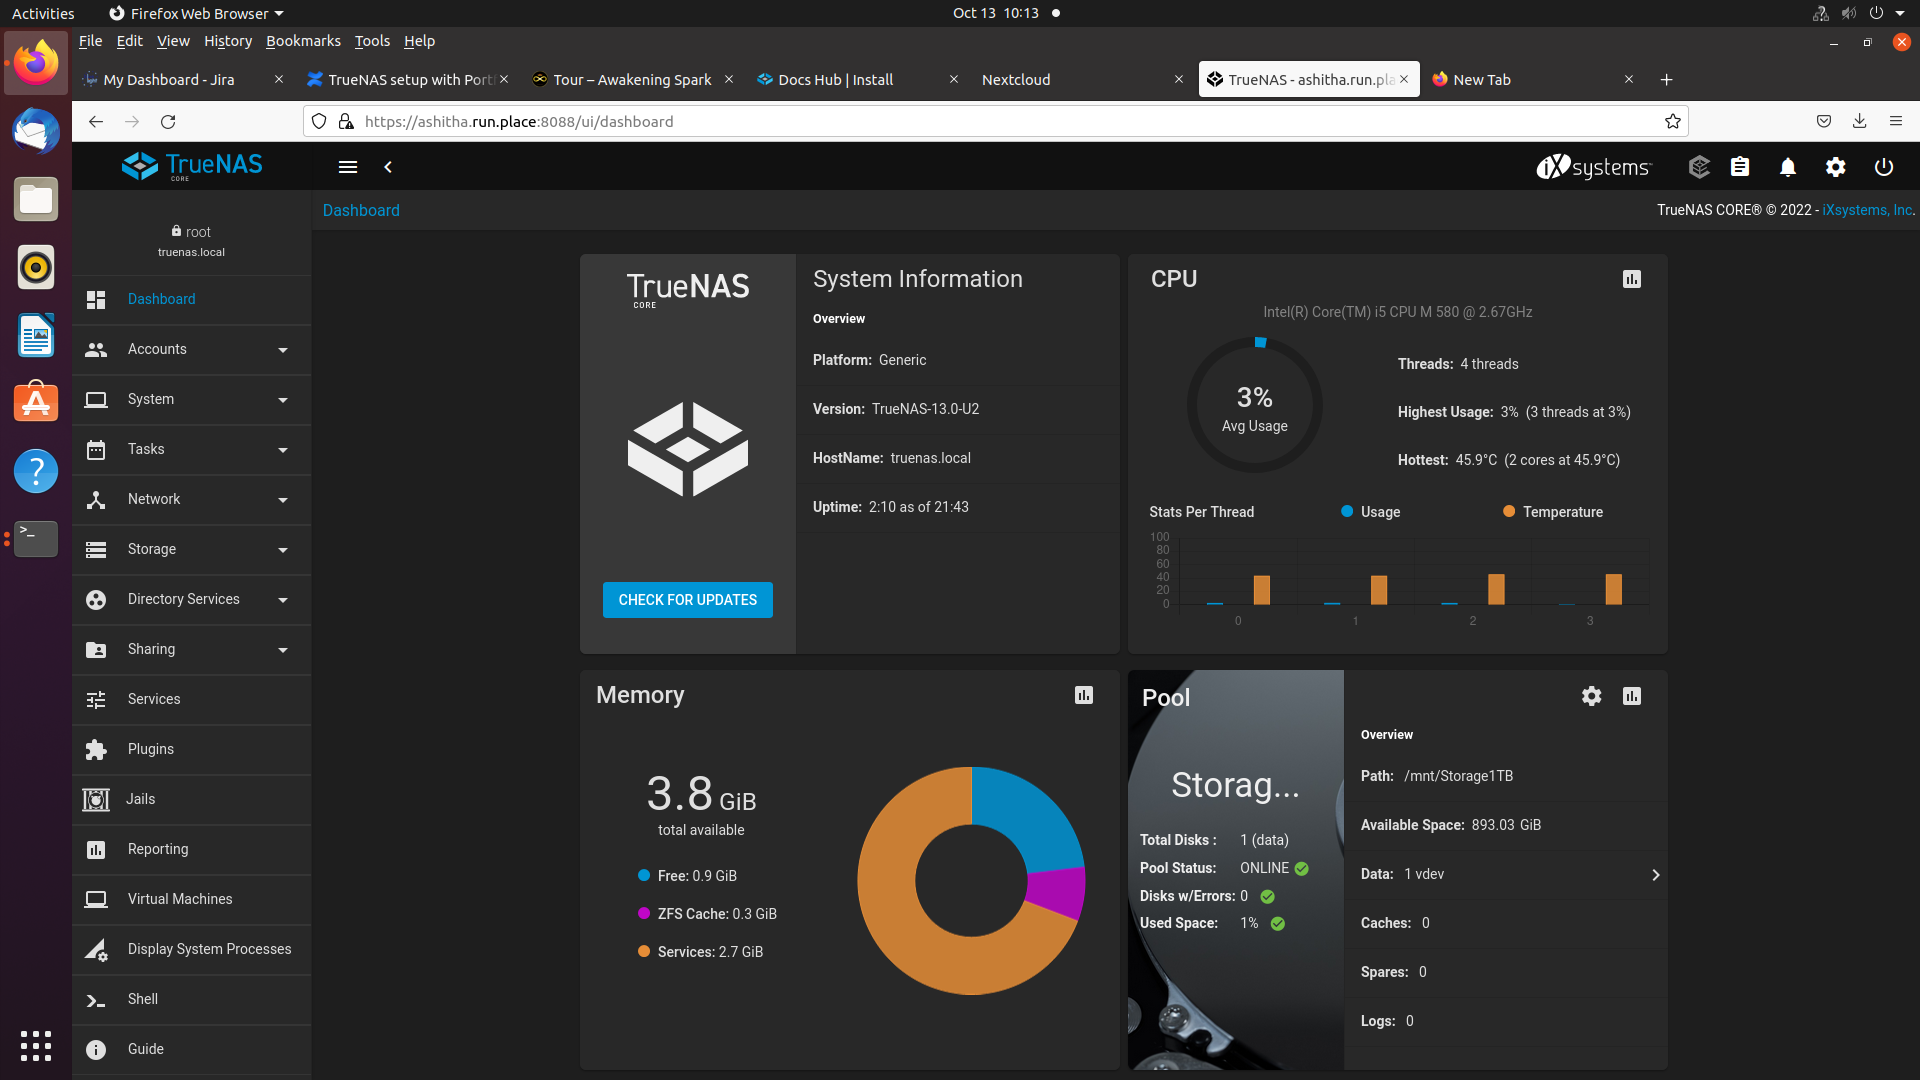
- The web interface
2. Selecting drive for storage and all other needs:
- select storage → pools

- Click add and select your drive and mention your desired name for drive
caution: it will format your whole drive
3. create a user rather than root
- select Accounts→ users
- add user
- select all permissions
- select you storage
- select your user groups

Nextcloud Install Process
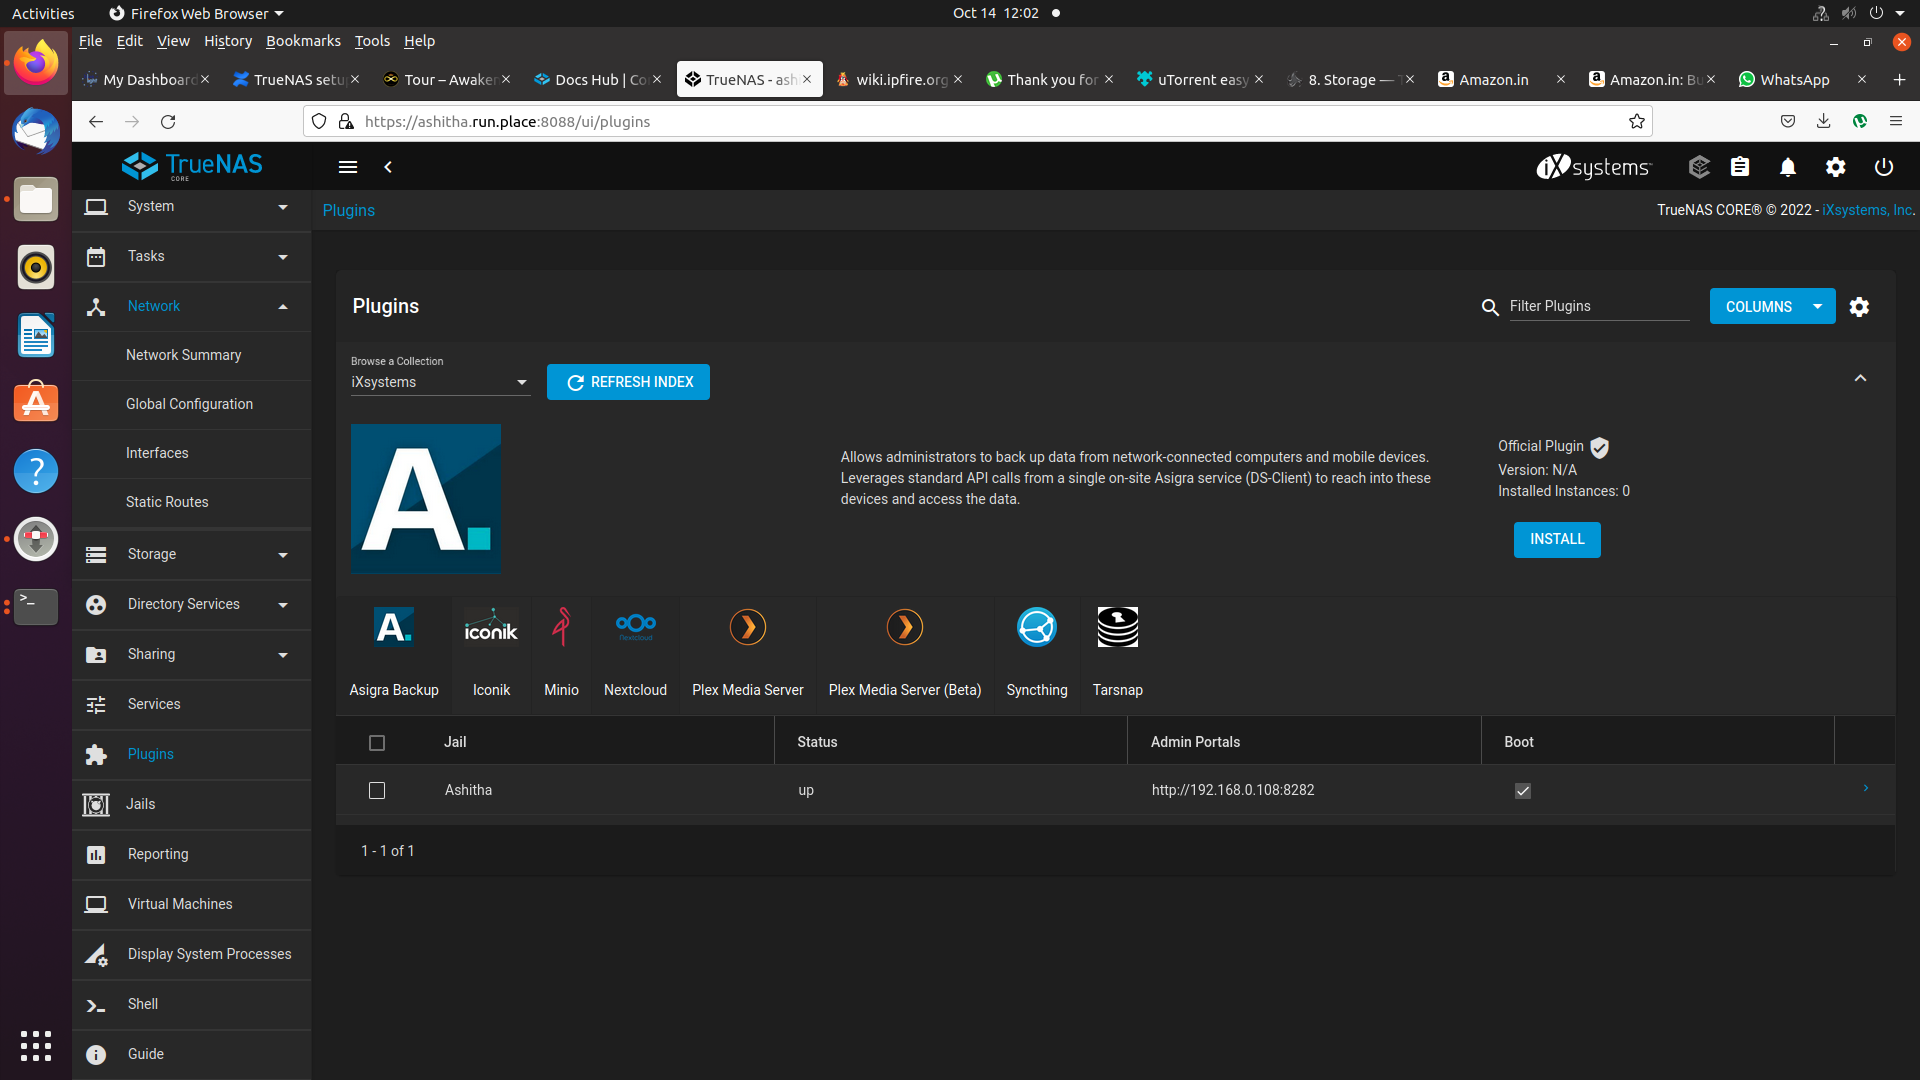
- In TrueNAS nextcloud service is a plugin
- First install it
- you can find it in plugin→ Nextcloud → Install
- un-select NAT and select DHCP
- It takes time 10 - 20 min to finish
- After use the IP-address and port number mentioned in Admin portal column
- username and password will be provided in post install notes - picture mentioned below
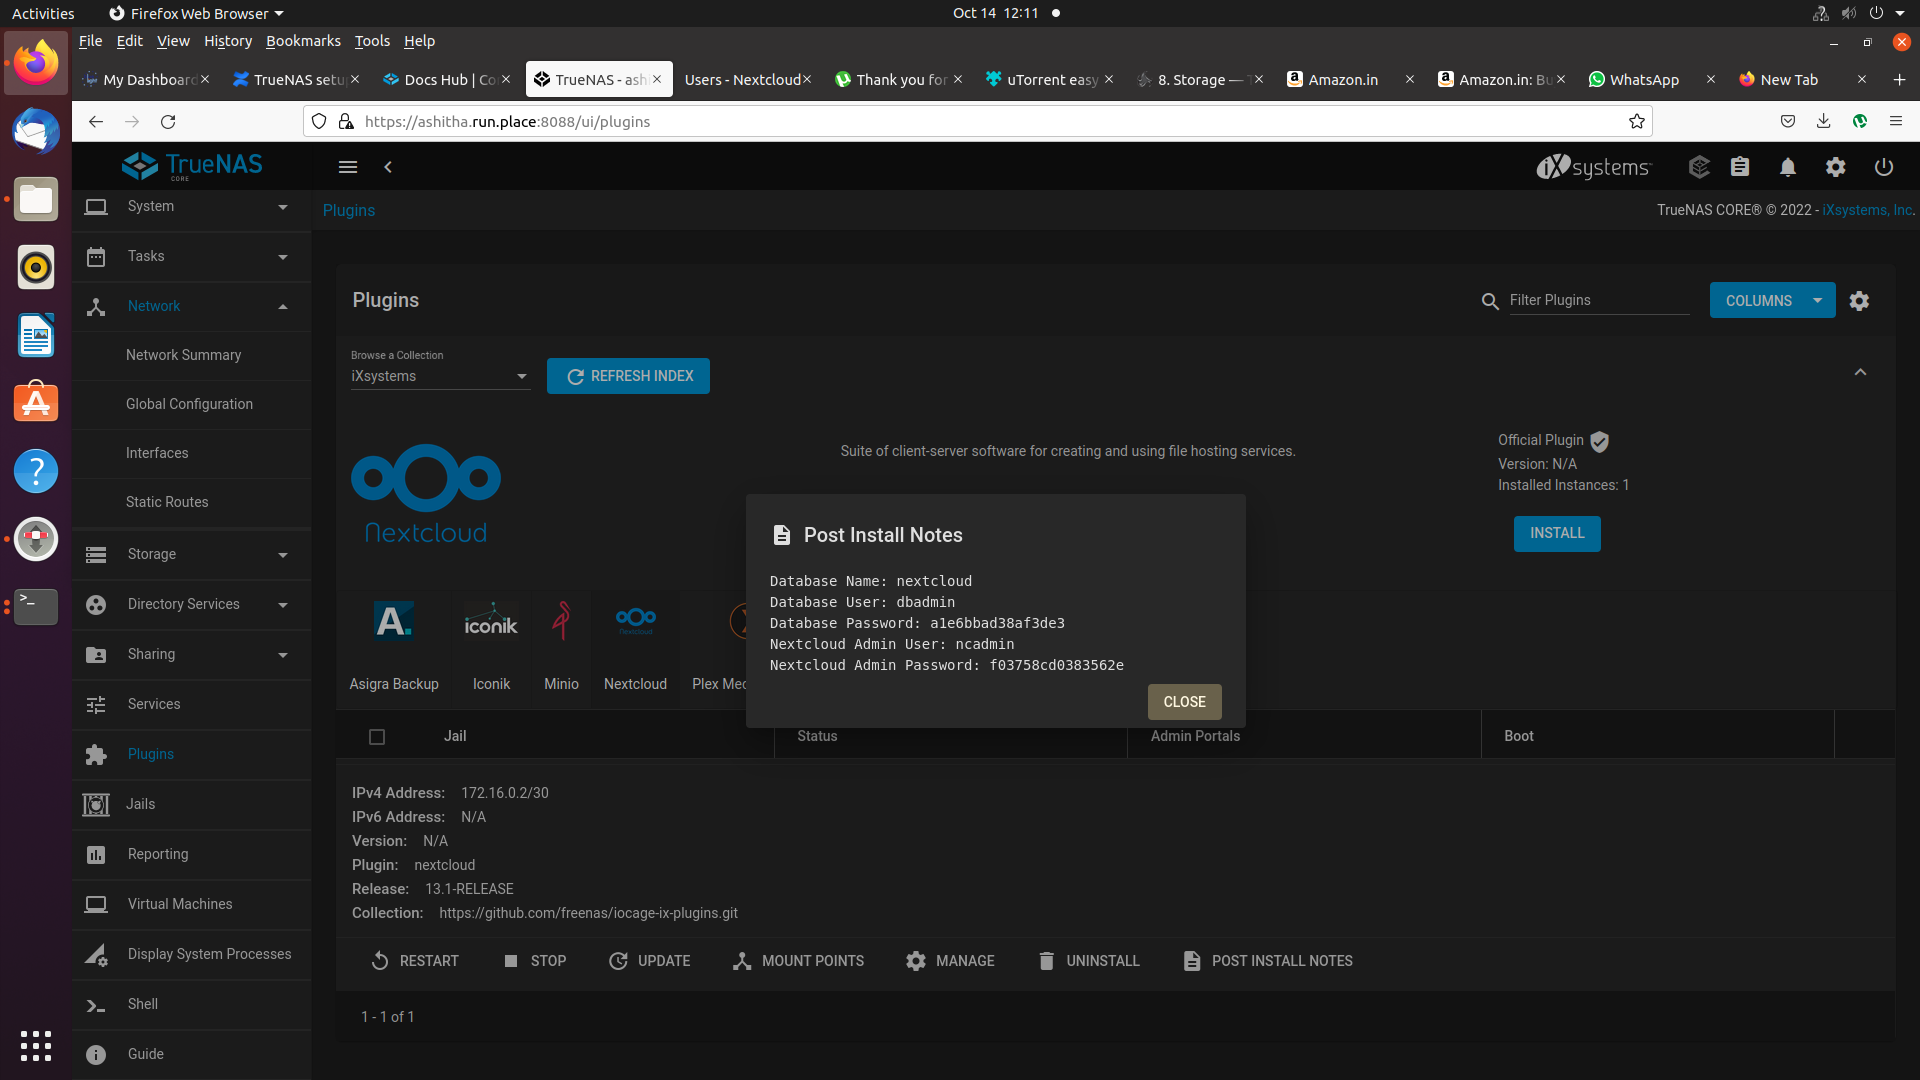
- use ncadmin and mentioned password to login
- next create newuser for login
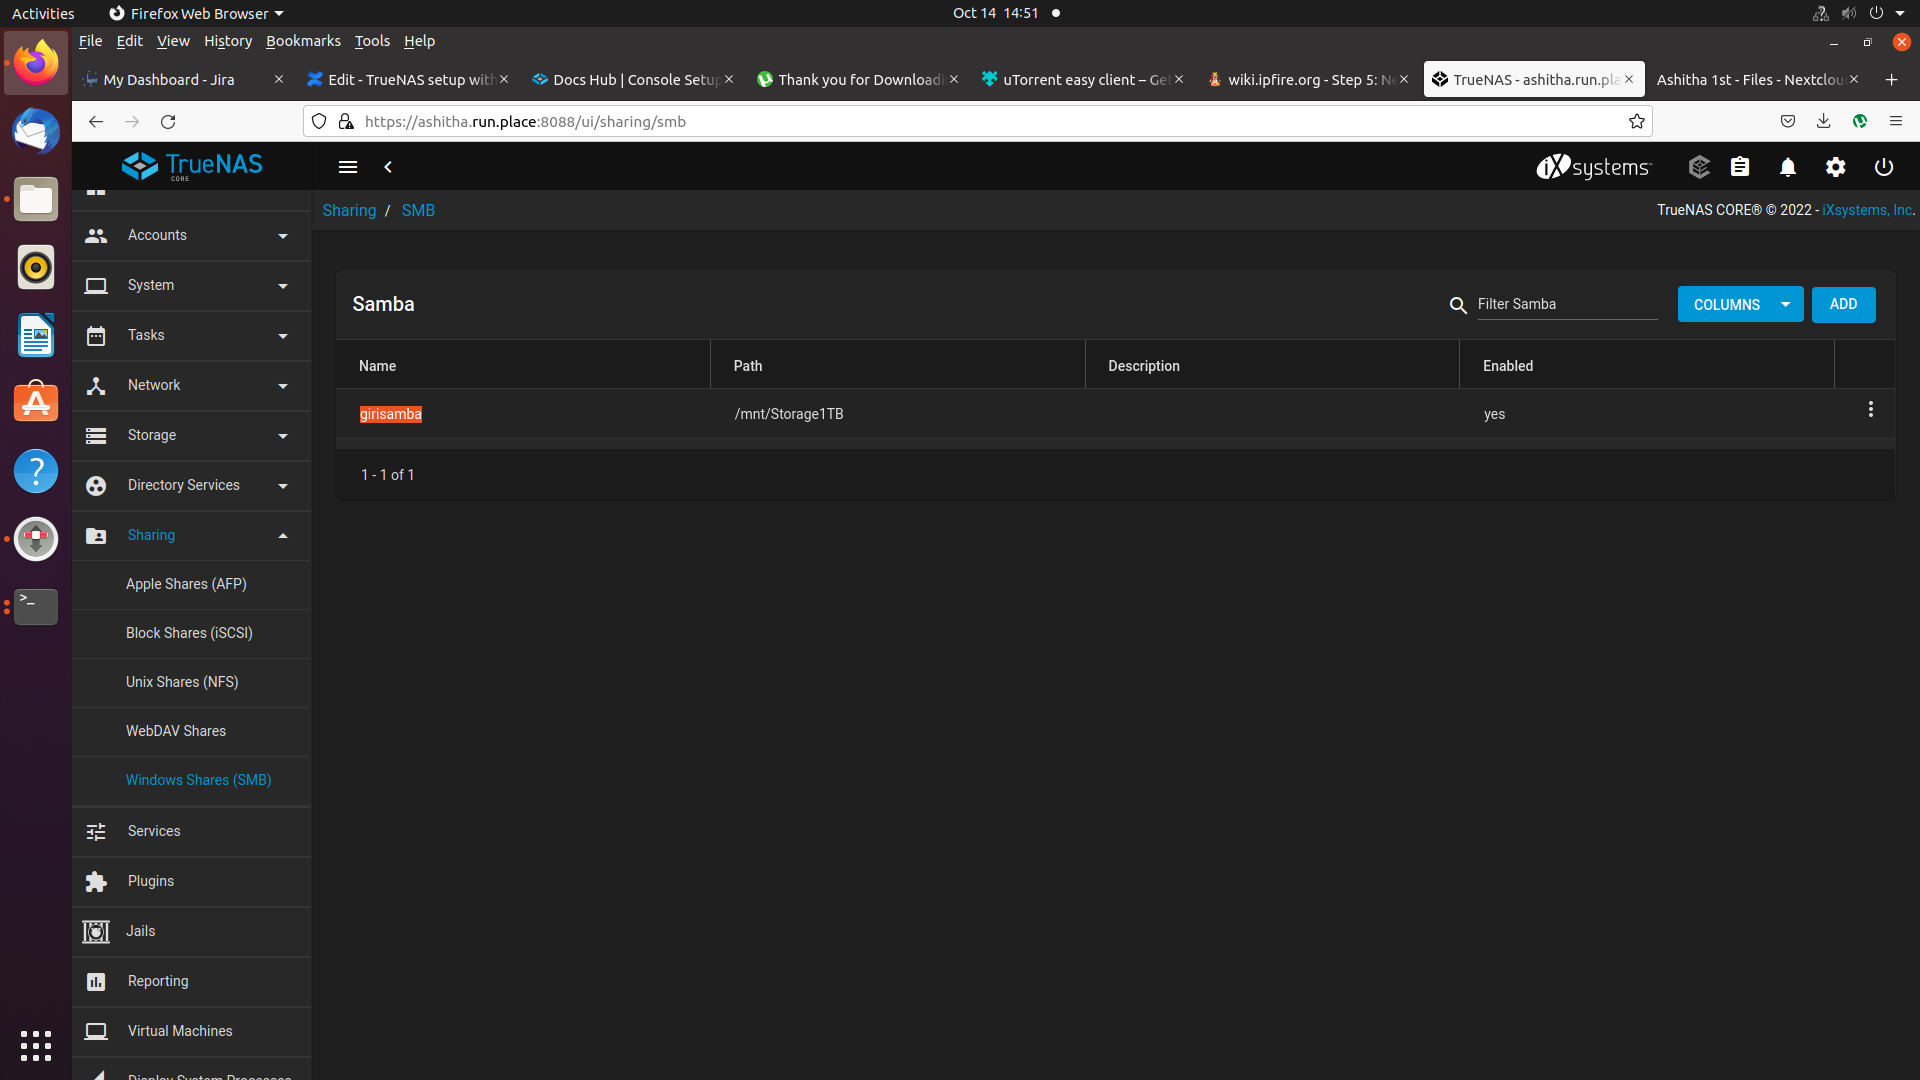
SAMBA share
select sharing → windows share(SAMBA)→ Add → select your pool → and provide your name, password and give all permission
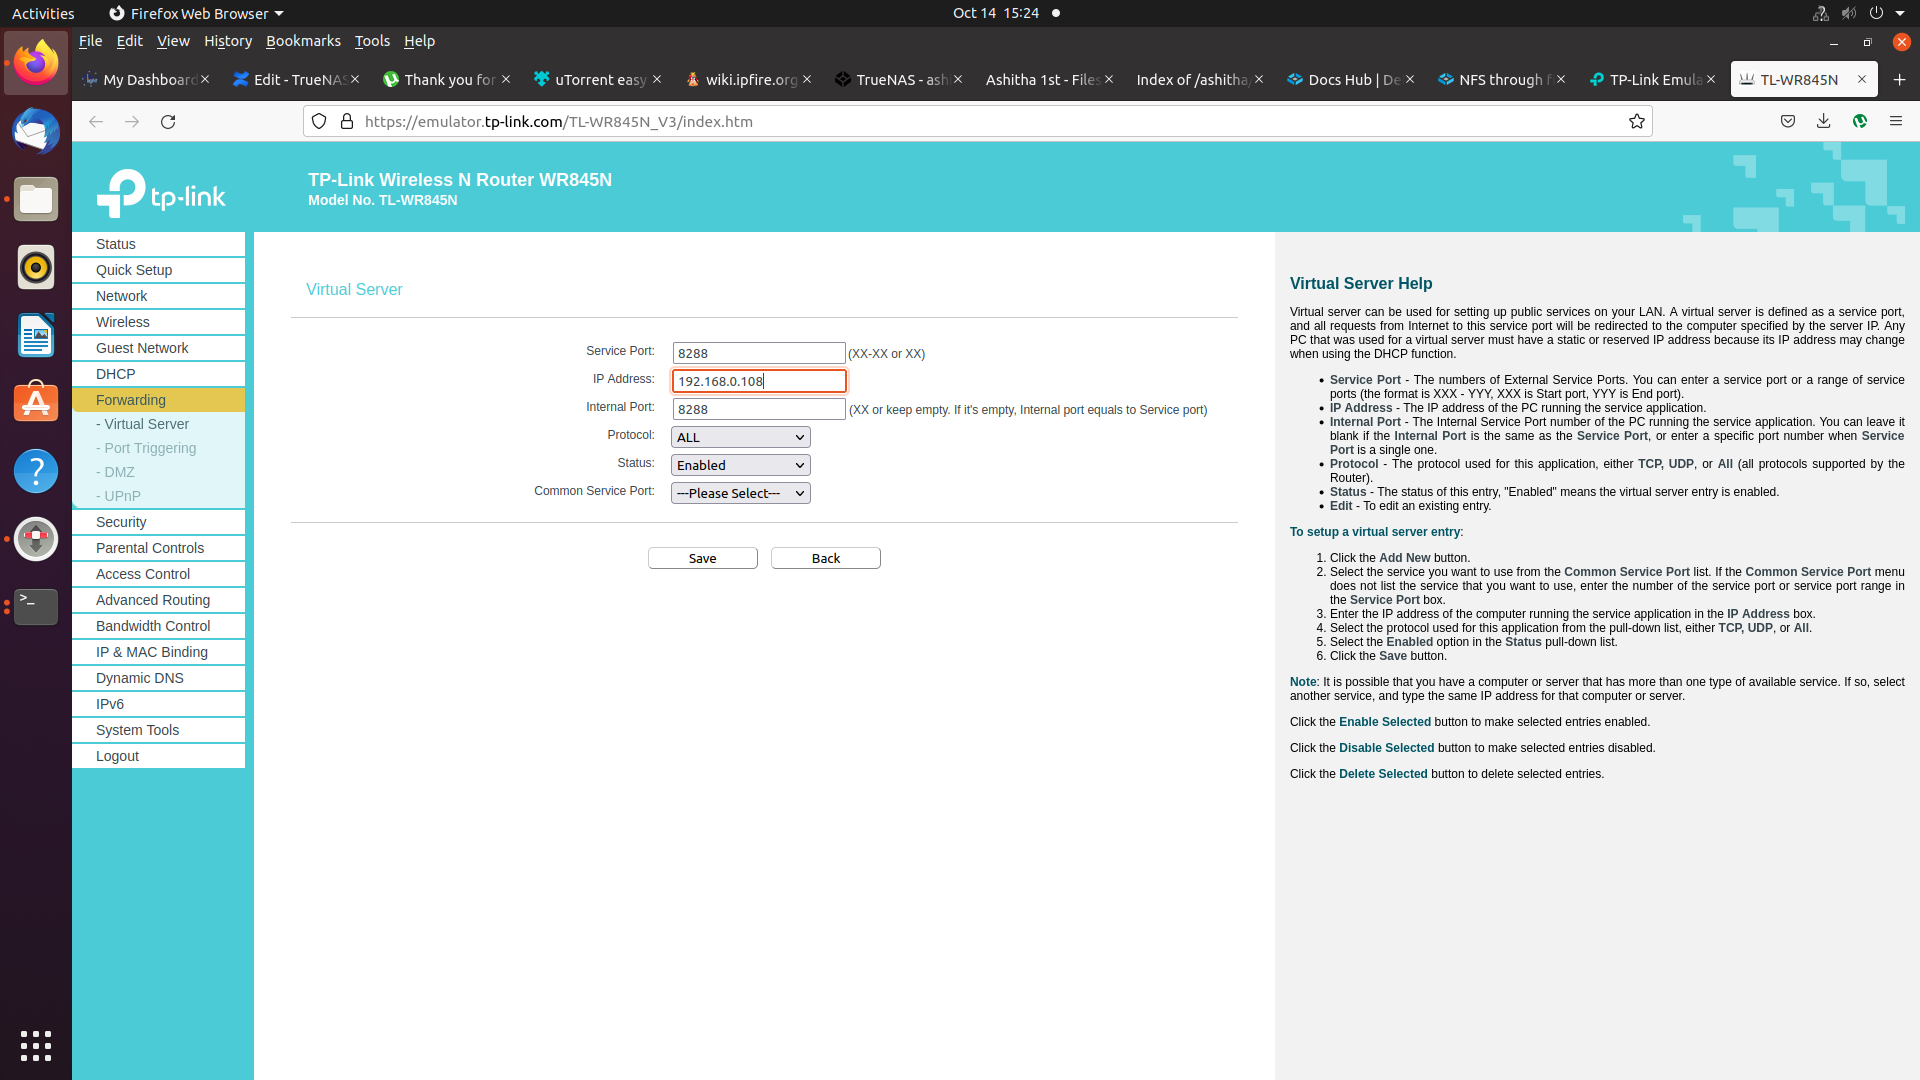
Portforwarding to make your TrueNAS online:
login router username and password- select forwarding -> virtual server -> add your TrueNAS IP in IPaddress feild
- add 8088 (default) for internal and service port
- select protocol both TCP & UDP and select status enabled
And save it